bentonite clay + essential oil ‘facial’

bentonite clay + essential oil facialSo I’ve had a ton of questions about the bentonite clay – what it is and what it does. It’s a really fine all natural grayish colored clay that is super absorbent and full of minerals. A lot of it comes from areas in WY. It’s great at pulling toxins and heavy metals out of your body and in place depositing beneficial minerals. As to not completely re-invent the wheel, Wellness Mama has a great blog post that gives a ton of information on it. I ordered my bentonite clay (affiliate link) on amazon.com and it’s a good mix of calcium bentonite and sodium bentonite so as not to get all of one mineral and none of the other!

As I’ve stated before, I’ve simplified my face cleaning regimen down to 100% all natural honey and oils and I LOVE it. I’m on month 3 of this now and it’s the longest I’ve gone since starting middle school without having some crazy breakouts! I am NOT one of those who was blessed with naturally smooth beautiful skin. at. all. I only wished I’d known about these methods about 20 years ago. I would have saved A LOT OF MONEY and A LOT OF CHEMICALS from going into my body!

So here’s a short 3 step 100% all natural, detox, repairing mini facial!

1) wash your face with 100% raw honey (the more crystallized the better as it nicely exfoliates while you scrub). Just rub the honey on your face and wash with warm water! yum!

2) for the mask, mix the bentonite clay with apple cider vinegar (you can use water if you don’t have ACV, but it is not as smooth or potent). Make sure not to mix it in, or with, anything metal as it will alter the properties of the clay! Make a paste out of it and spread it on your face! Let it dry completely….it will tighten up quite a bit and then rinse off with warm water. Add a drop of 100% CPTG melaleuca (tea tree) essential oil to also help boost the skin cleansing properties.

3) moisturize, hydrate and rejuvinate with essential oils! I immediately followed the mask with good hydrating blend of fractionated coconut oil and doTERRA’s Immortelle anti-aging 100% essential oil blend. This stuff is AWESOME! I have been using my own blend of fractionated coconut oils, frankincense and lavender essential oils (which I still love and highly recommend), but if you can at all get your hands on an Immortelle oil blend, it is amazing!Immortelle
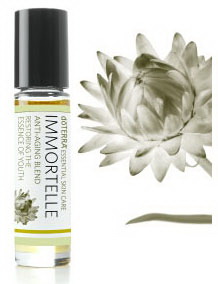
Immortelle is doTERRA’s anti-aging blend that contains a powerful mix of some rare oils like frankincense, Hawaiian sandalwood, myrrh, lavender, helichrysum and rose. Send me a message me if you want to get your hands on one of these!

The results = smooth awesome skin that is being pampered, detoxed and cleansed with 100% pure all natural basic ingredients!

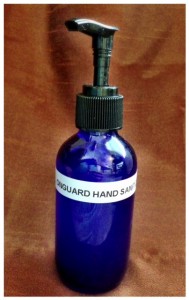


{DIY} hand sanitizer

Making your own hand sanitizer is so simple using 100% dōTERRA essential oils!

diy hand sanitizerMy vote for the best oil to use in hand sanitizer is definitely dōTERRA’s OnGuard Blend. This oil blend has an amazing cinnamon spice smell, and boosts your immune system while protecting against environmental threats.

Here’s the recipe::

  • 1 oz pure aloe vera gel
  • 1 oz purified water
  • 2 oz high-proof vodka, grain alcohol or gin (can use witch hazel extract for an alcohol free version)
  • 12-15 drops dōTERRA OnGuard essential oil blend

You can also add a few capsules of vitamin E oil to the mix to soften skin even further!
Mix all ingredients into a 4 oz glass pump bottle. Shake well to ensure it’s properly blended!

This is a great alternative to commercial hand sanitizers. Here is a typical list of ingredients from a store bought brand:
water, isopropyl alcohol, aloe barbadensis leaf juice, caprylyl glygol, glycerin, isopropyl myristate, tocopheryl acetate, acrylates/C10-30 Alkyl Acreylate Crosspolymer, Aminomethyl Propanol, Frangrance (Parfum), Blue 1 (Cl42090), Yellow 5 (Cl 19140)

Fewer chemicals and additives and much better for your skin! What a bonus to boost immunity while sanitizing your hands!

{DIY} natural bum paste!

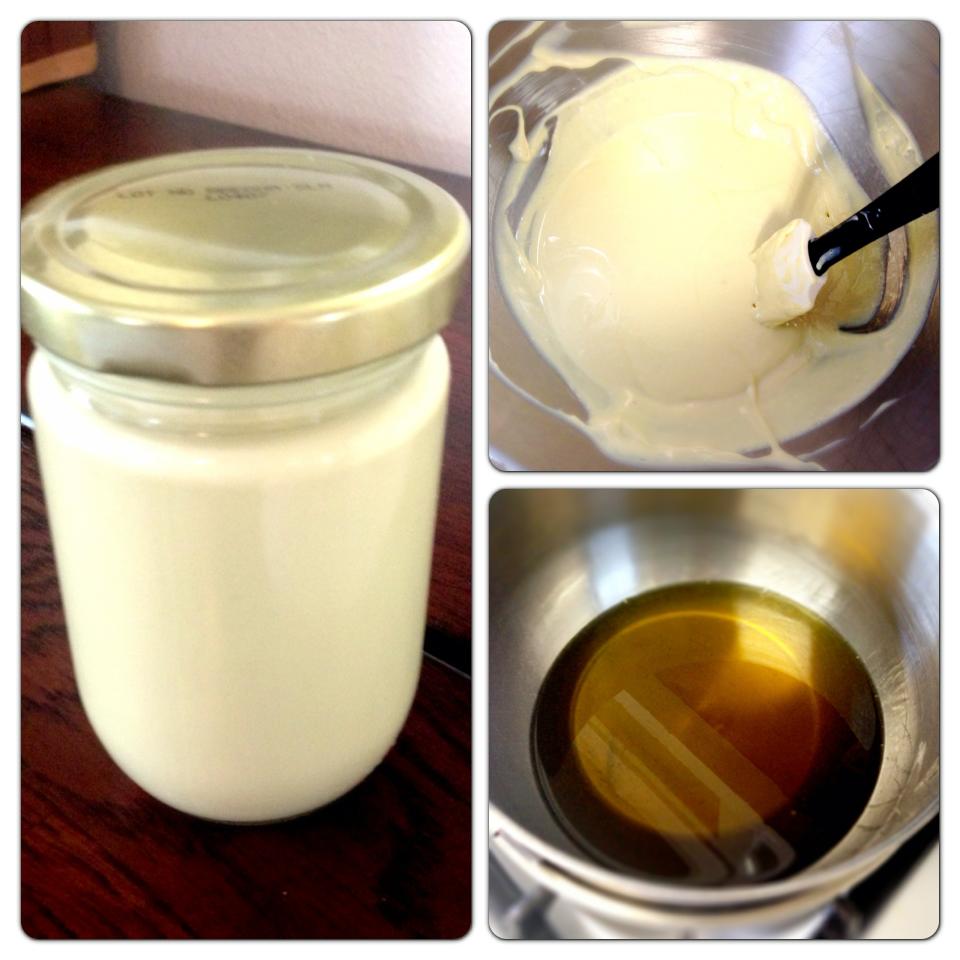
The {DIY} project today…home made diaper cream! This {DIY} has been a huge success and I can honestly say I will not be buying diaper cream from the store ever again! It works great, smells great and mostly importantly is SAFE to use on my little ones. You will be happy to know exactly what is in your cream, especially when your 2 year old decides to open it up and rub it all over himself (that may or may not have happened here yesterday) 🙂diaper rash cream

This stuff is so easy to make, and my 3 year old loved helping.
Recipe adapted from www.mymerrymessylife.com

What’s in it:

  • 1/2 c raw organic Shea butter
  • 1/4 c raw organic coconut oil
  • 1 Tbsp organic beeswax pastilles
  • 2 Tbsp zinc oxide powder (can omit if using cloth diapers)
  • 1 Tbsp pure aloe vera gel
  • 10 drops lavender essential oil
  • 8 drops melaleuca essential oil
  • 4 drops peppermint essential oil

STEP 1:
heat the shea butter, coconut oil and beeswax in double boiler over med heat until liquified. Remove from heat and let cool slightly (just so the temp is lower).
STEP 2:
Pour into stand mixer and add zinc powder, aloe and whip on high until smooth and completely blended. Drop in essential oils (make sure the mix is no longer hot as heat can break down the therapeutic properties of the oils).
STEP 3:
Mix thoroughly and pour into containers. Glass containers are best as the essential oils can break down plastic over time. Makes appx 8 oz of cream so I divided into two 4 oz glass jars. It will be thin when you pour it, but will thicken up quickly as it cools, so don’t plan on moving it to different containers after cooling 🙂 I keep a small one in the diaper bag, and at each changing station throughout the house!

The oils are are moisturizing and calming and soothing to baby’s skin. The zinc provides an excellent wetness barrier. The combination of ingredients is perfect for the little bums, and you may want to rub it on your arms and hands while you’re at it 🙂 If you like the recipe, I’d suggest doubling it next time and stocking up!

{DIY} foaming hand wash

So my list of things to ‘never have to buy again’ is growing and I LOVE it! Today’s {DIY} is so simple. Foaming hand wash. The secret to the foaming is to save and wash out former containers that have the foaming pump. You will see I had quite a few from a popular store that work really well to save and refill with your own natural ingredients, though I now order the containers from dōTERRA when I need replacements because it is so easy to throw that onto my essential oil order!

Before I list the ‘recipe,’ let’s take a look at a few of the ingredients in the original container that was purchased at a store for $5.50.

ORIGINAL INGREDIENTS:
Water, Sodium Laureth Sulfate (read more about this), Parfum, PPG-1-PEG-9 Laurel Glycol Ether, Disodium Laureth Sulfosuccinate, Propylene Glycol (read more about this), Cocomidopropylamine Oxide, Hydroxyethel Urea, PEG-7 Glyceryl Cocoate, Triethelyne Glycol, Tetrasodium EDTA, Hydroxypropyl Methylcellulose, Citric Acid, Benzyl Alcohol, Benzophenone-4, Glycerin, Sodium Chloride, Butalyne Glycol, Sodium Hydroxide, Yellow 6, Honey Extract, Methylchloroisothiazolinone, Methylisothiazolinone, Guar Hydroxypropyltrimonium Chloride, Red 33, Olea Europea Fruit Extract, Cocos Nucifera Fruit Extract, Mangifera Indica Fruit Extract

——————————————————————-

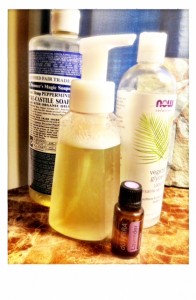
foaming hand soapNEW INGREDIENTS:

Pour Dr. Bronner’s and vegetable glycerin into empty bottle, add essential oils and fill the rest with filtered water. Shake it all up and you’re ready to use!

—————————————————————————–

To be fair, here are the ingredients broken down for the Dr. Bronner’s Peppermint Castile:
Water, saponified organic coconut and organic olive oils, organic hemp oil, organic jojoba oil, organic peppermint oil, organic mentha arvensis, sea salt, citric acid, and vitamin E.

Since my Dr. Bronner’s already had peppermint I used lavender to compliment the scent and for it’s skin soothing properties. Many essential oils have great constituents to support a healthy immune function, so you can use whatever oils you prefer to scent your soap. dōTERRA OnGuard is excellent for this and is my go-to for soaps this fall. It has an amazing cinnamon spice scent and is a very good choice to protect against environmental threats.

I’m working on a cost break-down for all my {DIY} items, but replacing this with all natural organic ingredients was less than 1/2 of the cost of the original chemical filled product!


{DIY} natural deodorant

Try this simple recipe for an all natural homemade deodorant that really works! No chemicals or aluminum to worry about!!

  • 4 Tbsp organic beeswax
  • 5 Tbsp organic coconut oil
  • 1/3 c baking soda
  • 1/3 c arrowroot starch
  • 10-15 drops of dōTERRA lavender oil
  • 10 drops of dōTERRA Purify oil
  • 5 drops dōTERRA cypress oil

deodorant*melt bees wax over low heat in double boiler along with coconut oil. Stir well until clear and smooth. Remove from heat. Mix in baking soda and arrowroot starch until well blended. When cool, add essential oils and mix well. When it starts to thicken, pour or spoon into empty deodorant container or you could pour into a mold and pop it out for a ‘stick.’

You can easily remove old deodorant from a container by rolling it all the way and thoroughly washing it out, then using it for your natural deodorant instead!

{my 100% Pure Organic Beeswax Pastilles, 16 Oz and Jarrow Formulas Coconut Oil 100% Organic came from amazon.com}

{DIY} Moisturizing Shaving Cream Recipe

Ok, here’s the new favorite shaving cream recipe. This is too thick to dispense in the foaming soap dispenser, but light and fluffy, and great just scooping it out of the jar! My husband is a good critic, and gives this one two thumbs up!
shaving_cream
INGREDIENTS:

~melt shea butter and coconut oil in double boiler until liquefied. remove from heat and let cool. add olive oil and mix.

~pour into stand mixer and mix on high, adding the rest of the ingredients. mix until light and fluffy!

~pour shaving cream into glass jar and enjoy!