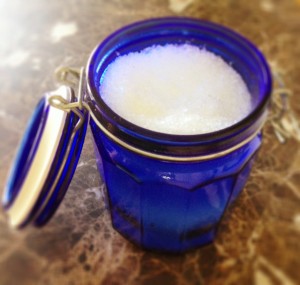
This is SUCH an easy {DIY} project that not only has great therapeutic properties while relaxing and de-stressing your body, but also makes great gifts for friends and family. Keep these salts in mind as the holidays are quickly approaching!
 To make your own bath salts, simply use the following ratio:
- 1 cup salt
- 5-10 drops essential oils (depending on how strong you want it)
STEP 1: choose which salt you want to use. The coarser the salt, the slower it will dissolve. Some great options are epsom salts and dead sea salts. I frequently use the epsom salts as they are easy to find, inexpensive, provide a great detox and the magnesium sulfate is great for your health. You can use a combination of salts as well.
STEP 2: Pick the essential oil or blend that you want. There is an endless variety! Here are some of my favorites:
Lavender (relaxation), dōTERRA Balance Blend (grounding), Geranium (skin), Cypress (healthy circulation), dōTERRA Citrus Bliss Blend or any Citrus Oils (invigorating, but still great for night bath), Peppermint (great foot soak), dōTERRA Elevation Blend (smells AMAZING and lifts mood)
STEP 3: Mix the salt and oils together thoroughly until it’s well blended
STEP 4: Pour into glass jar or container for storage. Thrift stores are awesome for this sort of thing! You can get endless varieties of glass bottles with character (dark glass is best for long term storage of any essential oil products). Make a cute tag, tie some twine or ribbon on and you have a unique gift!
Step 5: Fill your bath and throw in several scoops of your scented bath salts! Relax and enjoy!
VARIATIONS:
1) You can drop in a few drops of food coloring (if you don’t care about keeping it ‘all natural’ for a nice color effect. mix it into the salt and stir until thoroughly blended.
2) Add some dried flower petals, herbs or spices for some extra color and texture, though keep in mind they will float in the tub when used!

